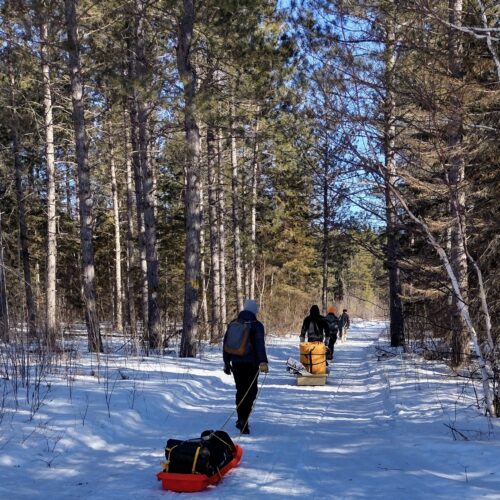
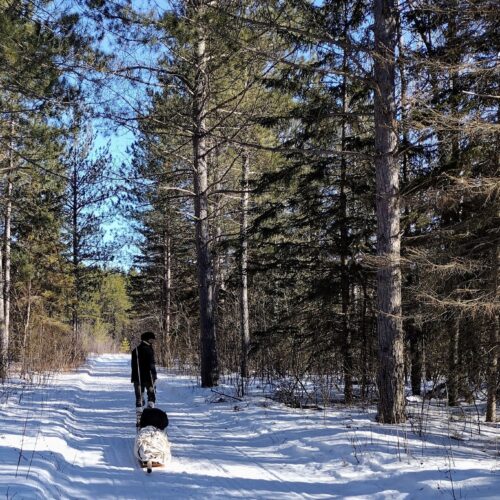
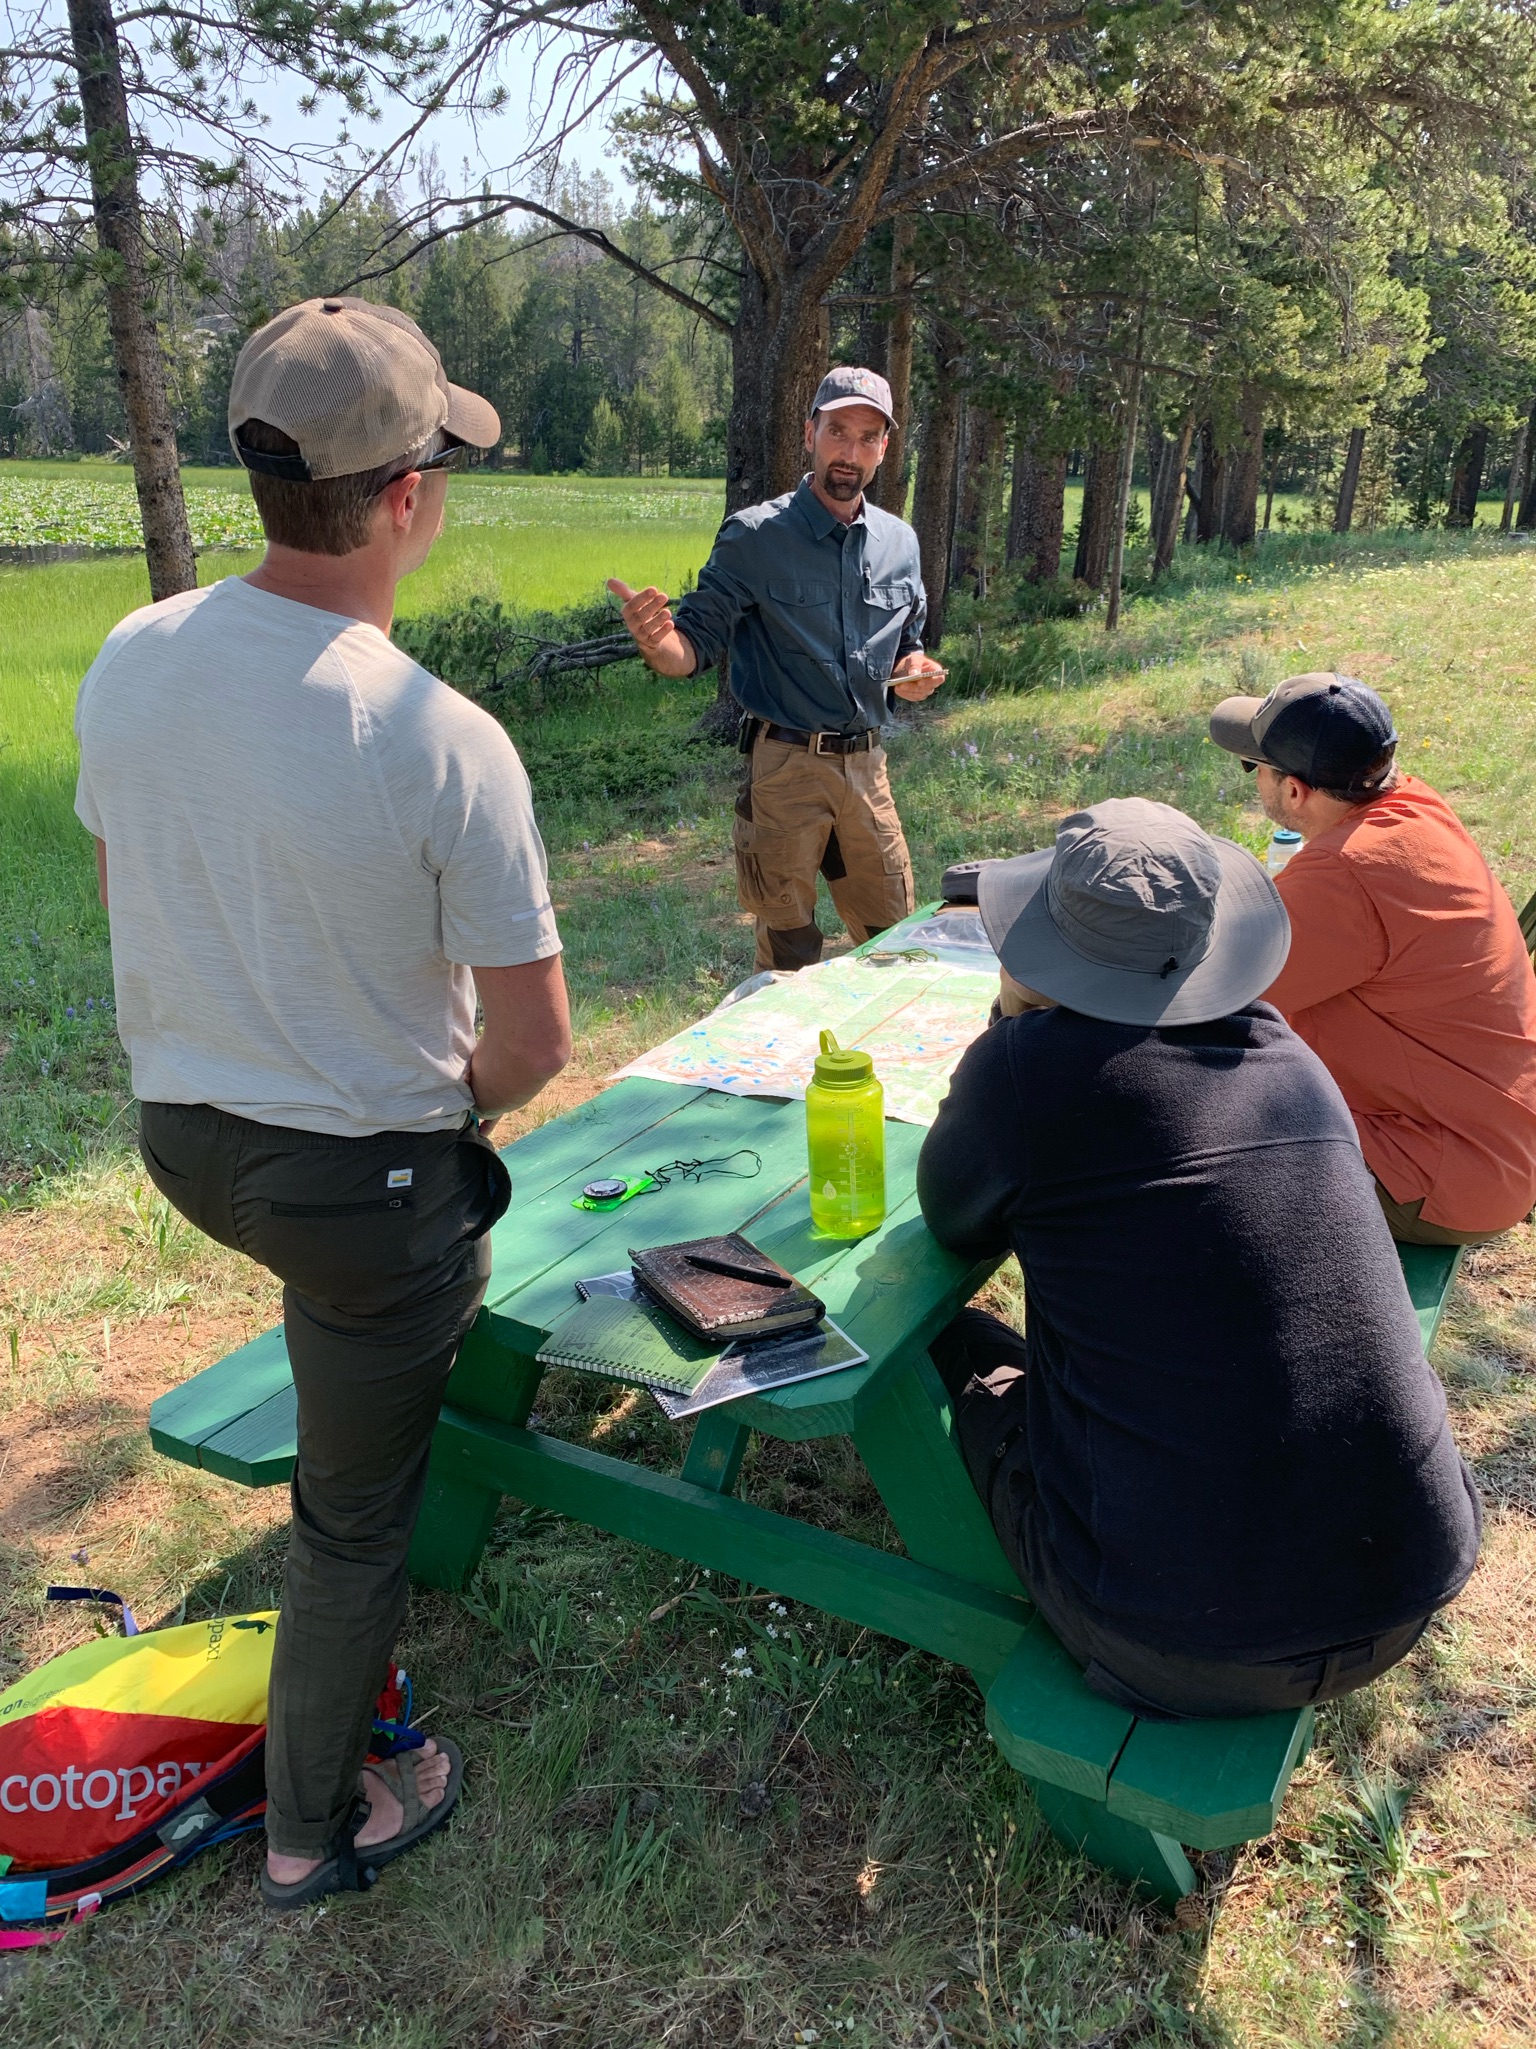
The few days of prep before the test felt like the calm before a storm. Our main focus was practicing the skills taught throughout Sigma III that each of us as individuals needed work on. Even so, the main thing on my mind was the rain. It had been raining nonstop for quiet some time now, and the thought of a dry week ahead seemed too good to be true. Part of our prep time included a trip into town to pick up necessary provisions. At first chance, the group stampeded into the big city of Springfield. We bought necessary (and unnecessary) items at Bass Pro, drank way more than our share of coffee, and consumed our body weight in T-bone steaks, bacon, and various other high protein vittles. After a day spent in gluttony, our group made its’ way back to our final camping location. It was on the perimeter of where the Scout test would take place. One of the guys pulled up a map of where we’d be testing. I kept note of three different sites near the back of the property and well off the main trail. We then lounged around the campfire, speculating about the great adventure to come. With all the excitement, I turned in pretty early so I could get some much-needed rest. Even though the rain continued, I crossed my fingers that tomorrow would a be a dry sky for a new day.
Test Day
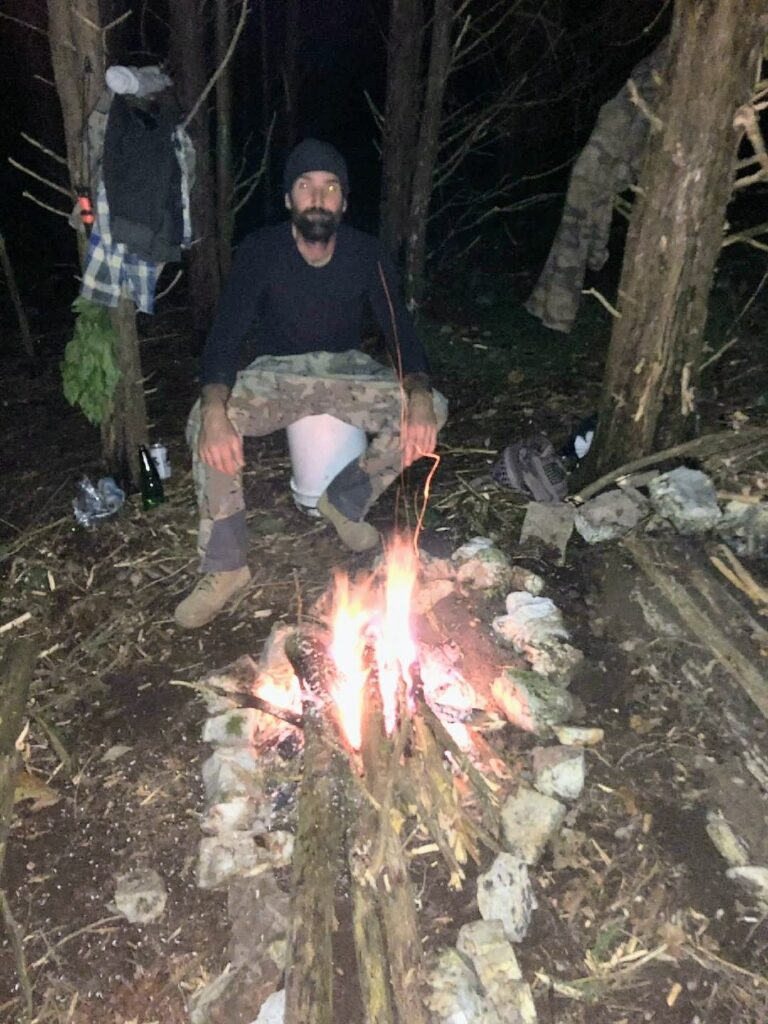
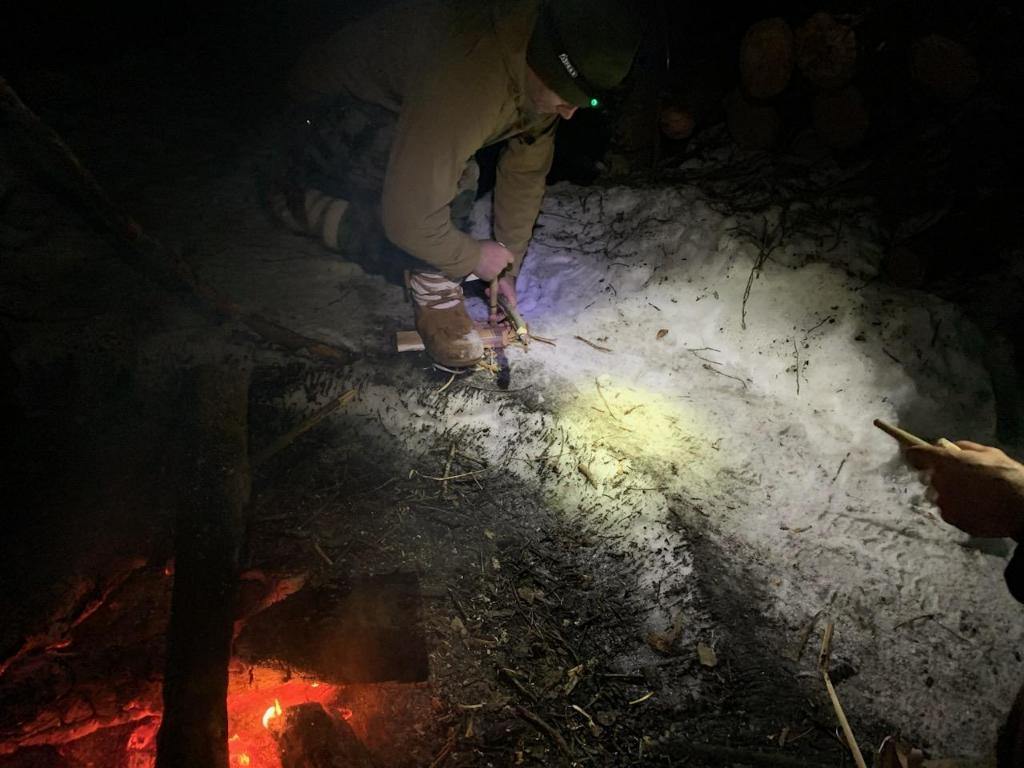
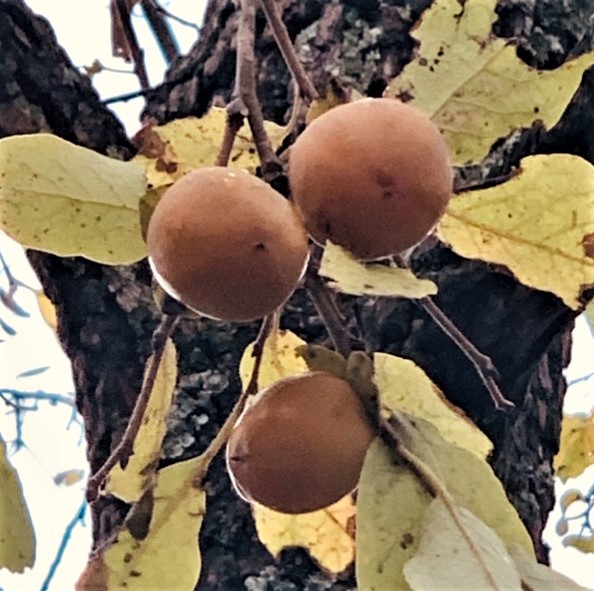
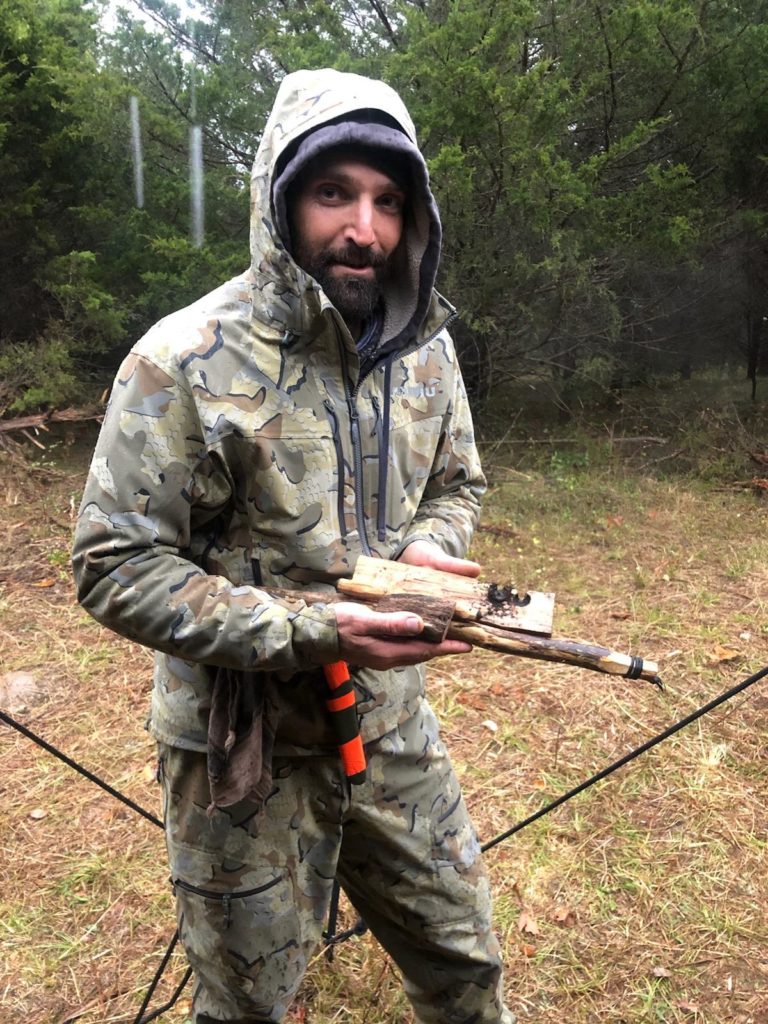
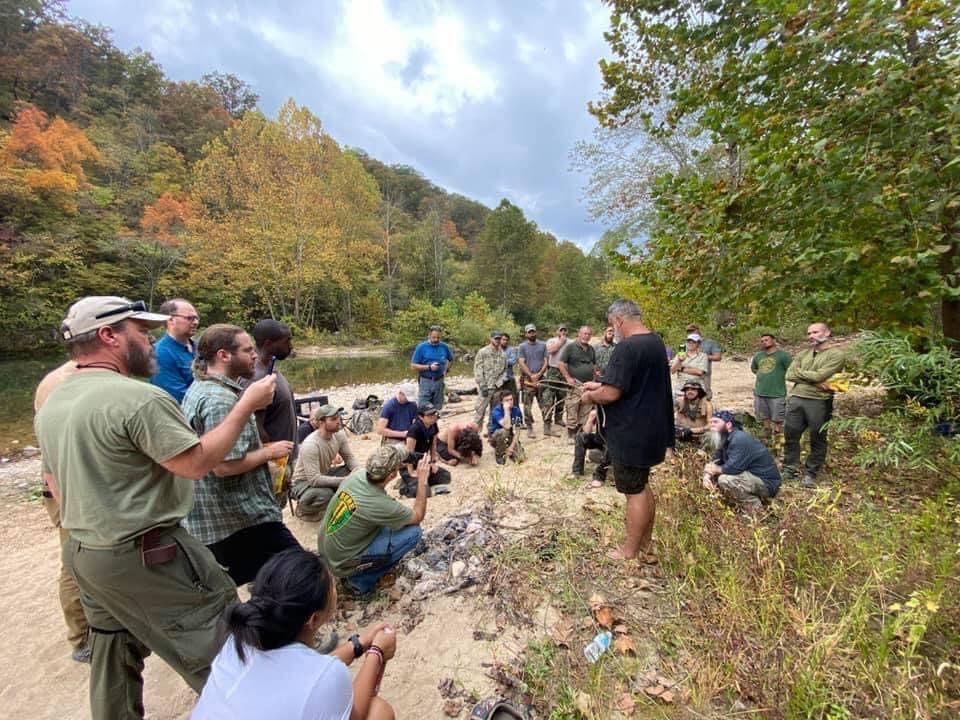
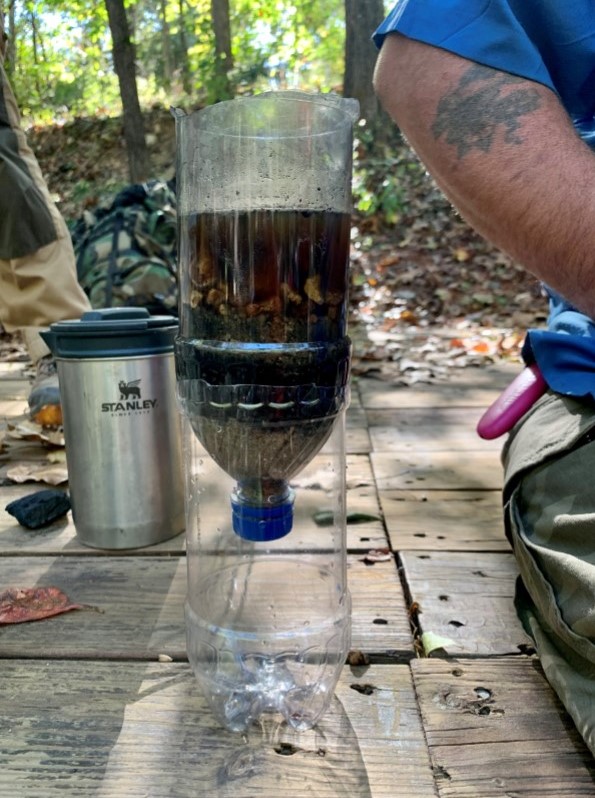
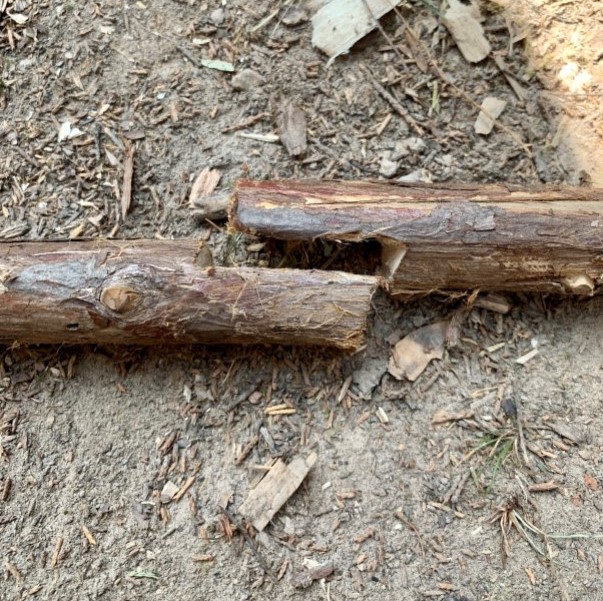
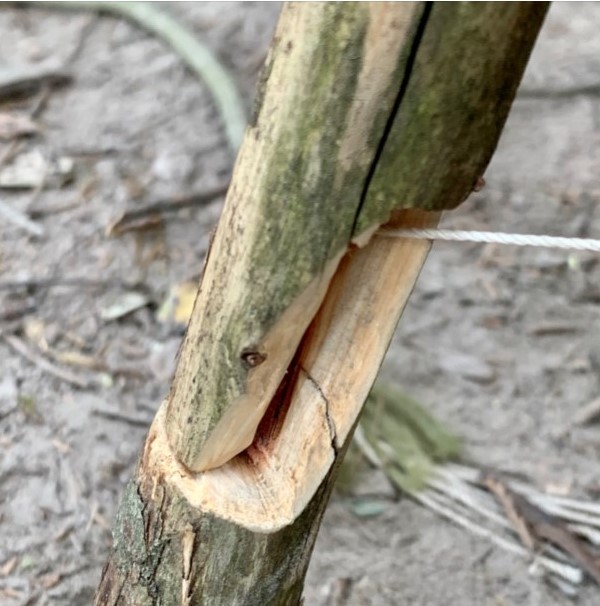
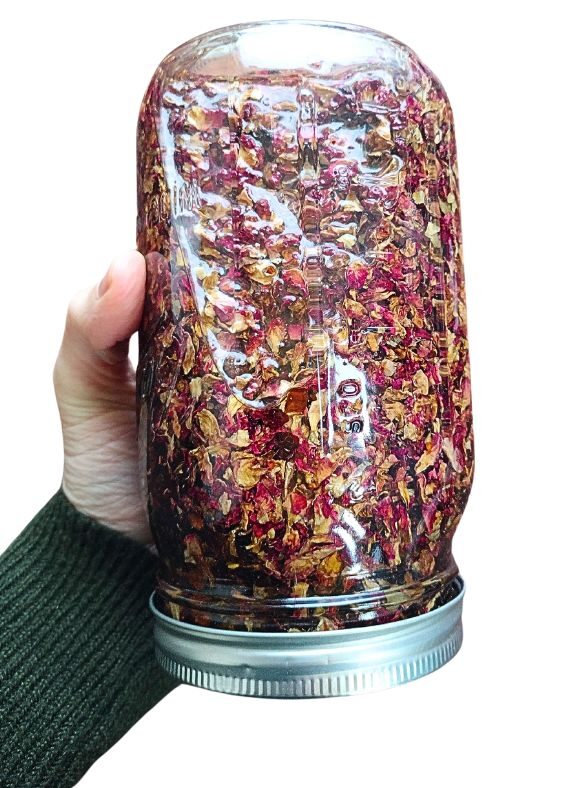
I woke up at 5am and started the day preparing a breakfast of two dozen eggs, two family sized packs of bacon, and a small pot of coffee; I should mention that this meal was for five guys Our gluttonous portions weren’t solely for enjoyment; we figured we’d better eat well considering we may be gnawing on a few persimmons in the days to come, and weren’t sure what else we’d find. At 8 am, William gathered us around the fire pit to explain the rules and time lines for the test’s projects. The main ones were fire, water, and shelter and they needed to be completed in 48 hrs. We were each allowed a few items to start testing and nothing else; two knives, outdoor clothing, and a pair of paracord boot laces. As goals were met during testing, we could earn back tools to help us survive such as a Silky Saw, cooking pot, poncho, and water filter. At 8:30 am, the fun began. Everybody headed out to pick their solo camp location. I had decided to talk to William more about property lines and road boundaries; this meant that I was the last to head out. I didn’t mind though; I wanted the rush of other students to clear out so I could spend more time wandering the property looking for bottles, cans, and other trash that could be used to make tools. As I wandered to the far edge of the property, I found a fence line that had a small creek running through it. Here I found some wire, a bucket, and some beer bottles that had washed down from a nearby farm. It was an exciting find that made my next few days go very well. When I arrived at one of the prospective camp sites, I found my friend Josiah building his shelter about 100 yards away. This worked quite well for me since my old flip phone couldn’t text or send videos, which were required to prove that I had finished a test project. I decided to look for some good trees to build my lean-to. In the process of finding lean-to materials, I also came across some mostly dry tinder material and good wood from my friction fire set, which I hung on the fence line to dry for the day. The plastic bucket I’d found earlier made light work of gathering leaves for the roof of my shelter versus using my hands. I didn’t finish my lean-to right away since the weather forecast didn’t show rain for the evening. It was about 75% complete before I moved on to my next project; water. I headed down to the lake to dig a sip well. The soil was perfect for it; it was about 2 feet of clay and rock mix, and about 6 inches of gravelly sand at the bottom. I built up the top edges with about 6 inches of clay and rock, then placed a bark cover on top to keep things from falling in. About 2 hours later, it was almost full of clear water. It was the first sip well I’d ever made. I usually carry a water filter or know where there is a spring. It may seem strange, but I was looking forward to drinking from my tiny well. The rest of the afternoon was spent gathering persimmons, and looking for other useful items. About an hour before dark, I figured I’d better work on my bow drill kit. With spindle carved, board squared, hole burned, and notch carved, I was ready to go…or so I thought. Instead, I got the worst Charlie horse in my arm, and it just wouldn’t go away. Luckily during the heat of the day, I had taken some of the water from my sip well, placed it in a beer bottle, and added some wood nettle to infuse. After drinking some of this sun tea, I went for a walk and ate some persimmons to help as well. I ended up by William’s camp. He asked my how my projects were going, and why I was back at the main camp, so I told him about my arm cramping up and taking a break, to which he exclaimed, “Grow stronger, and get that fire going!”. I made my way back to camp, and in short order got my fire going. I wasn’t too worried about the fire though, since it was a nice evening, and I had a roof over my head. I also had another day to get my fire going in order to pass the testing. Josiah came over with his phone to video proof to send to William. Once my fire was going, I built a long fire that would burn all night and slept well next to it on my bed of juniper boughs.
Test Day 2
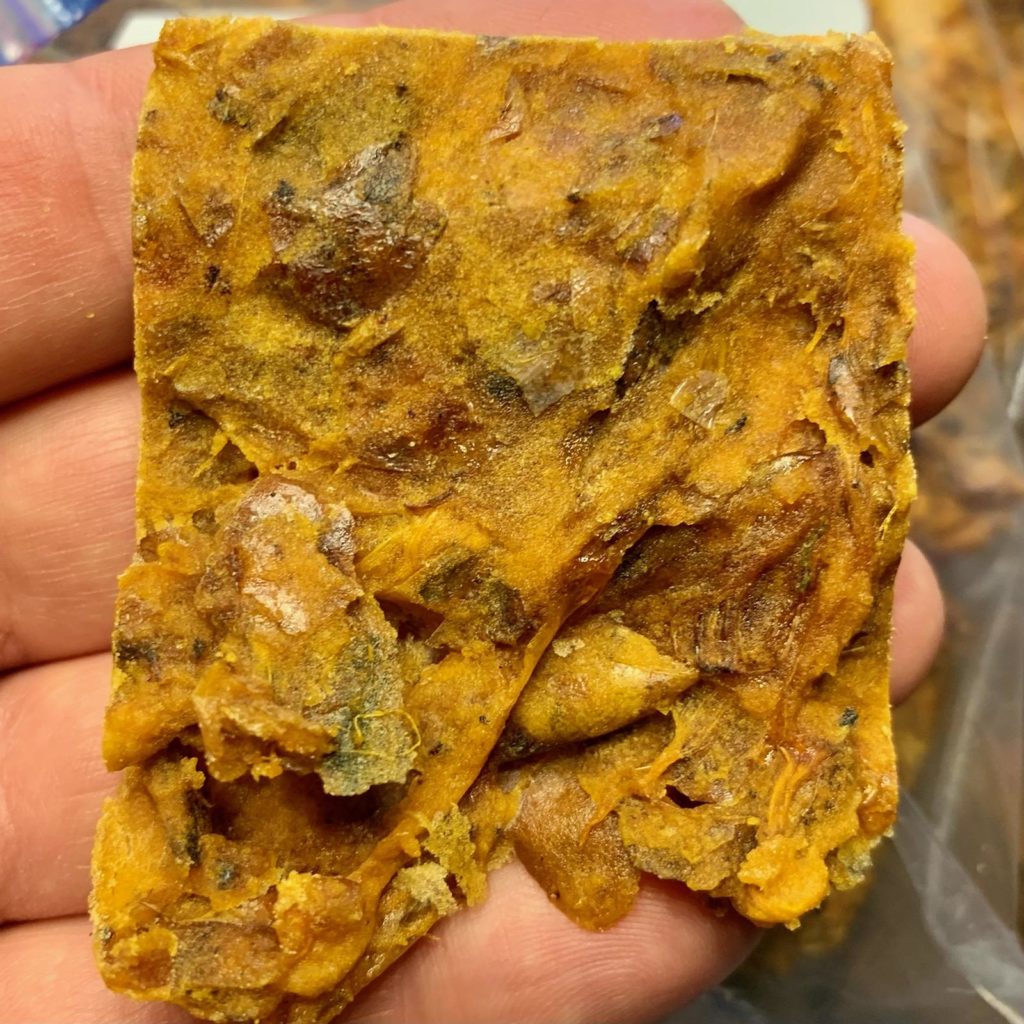
Breakfast consisted of persimmons and nettle tea which had been steeping by the fire in my beer bottles. I went for a long walk most of the morning. On this walk, I found some puffball mushrooms, more persimmons, and an old, wily gray squirrel. I chased him around the forest for a bit, missing him with my throwing stick…twice. After he clambered up an oak tree, I gave up my pursuit, and he was never to be seen again. Returning to camp, I threaded my mushrooms on a string to dry, and took a good nap. When I awoke, I went for another walk. It was warm. Looking ahead I could see a snake sunning itself on a rock. Very slowly, I crept up behind and with the back of my Kukri, hit it in the head, sending it into the hereafter. It wasn’t a very big snake, only about 18 inches long. I took it down to the pond and cleaned it. For a cooking pot, I found an old beer can, and cut the top off. This is the part where you’ll want to grab a paper and pen… Here’s how you can make this special stew yourself. First, fill one old beer can half full of nettle infusion, being careful to leave in the chunks of nettle itself. Add one medium sized snake, a handful of puffball mushrooms, and let simmer until meat falls off the bone. When done, transfer to a fancy pickle jar and serve to someone you dislike. Honestly, this was one of the worst things I’d ever eaten. With this done, I had the main essentials of the test completed; fire, water, shelter, and food.


